
Freezing weather might not be the most inspiring time for jazzing up your style.
Still, that doesn’t mean you should just give over to three whole months of lackluster fashion and beauty choices.
Quite the contrary!
Even if you can’t do anything about million layers of clothes or hopelessly unaesthetic winter footwear, there are still some little things you can do to give your appearance a touch of stylishness.
For example, having a fun and creative manicure can perk up even the most mundane outfits and brighten up bleak days.
Moreover, winter is a season packed with holiday celebrations, New Year’s ‘dos and various other festivities, all of which can present an awesome opportunity to give your nails a makeover.
And to give you some ideas, we’ve curated a list of the chicest, most eye-catching nail designs of the season.
We guarantee you will find a nail look you’ll love – regardless of whether you’re looking to dazzle at end-of-the-year parties or simply rock a fresh mani while cozying up by the fireplace with a hot cup of tea.
Keep reading to find your go-to nail look for the winter ahead!
All That Teal
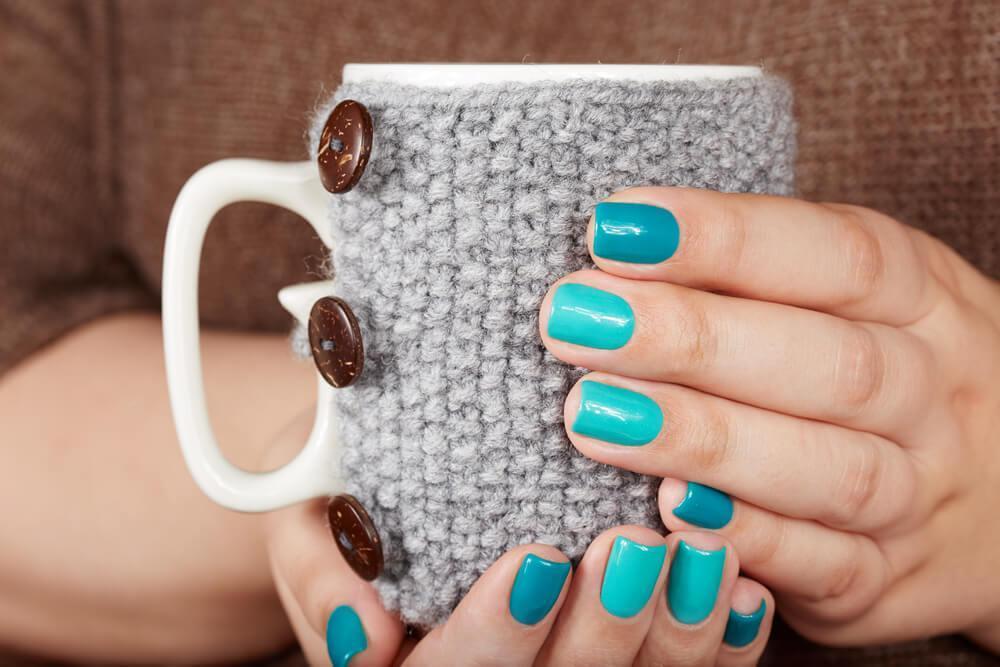
Teals and turquoises might not be the first shades you think of when someone mentions winter.
And yet, these playful hues are perfect for adding a touch of color to your overall look during those dreary winter days, without going overly flamboyant.
Moreover, teal works like a charm against greys, browns and other muted colors we tend to wear when weather turns sour.
Start off by filing your nails to desired shape, then applying a base coat. This step will ensure your polish stays put for days.
Coat your nails with teal lacquer. Keep adding layers until you achieve full opacity.
If you want to make this look a little more creative, coat your nails with several different shades of teal, turquoise and blue.
Lock in the color with top coat and you’re done!
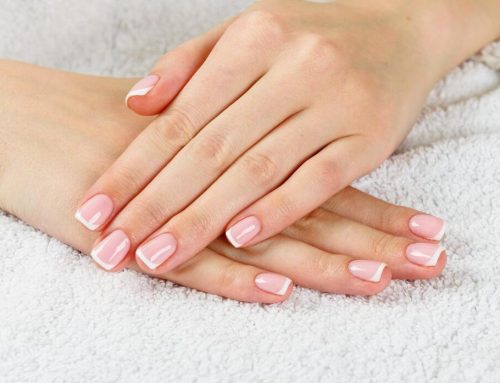
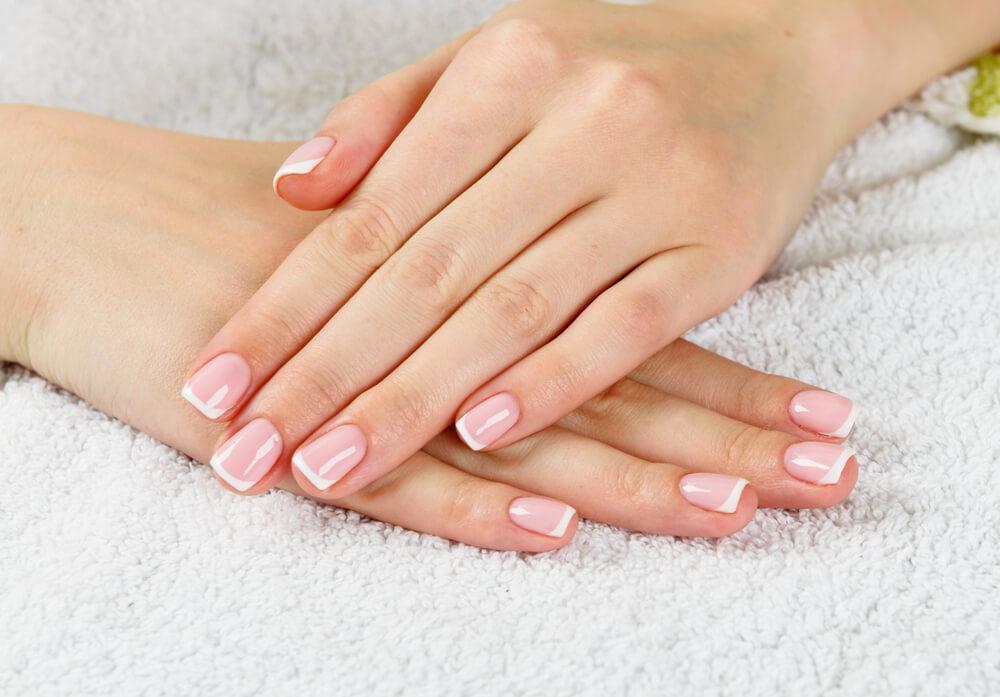
Pink and Holographic Rhinestones
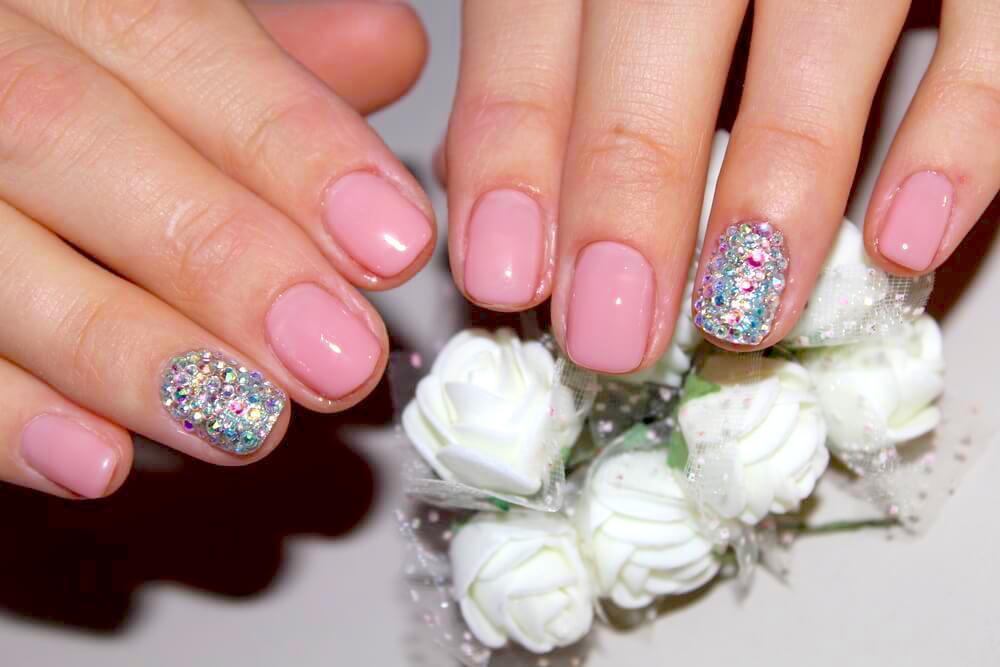
There’s nothing more flattering on the nails than a soft, nude shade of pink. And winter might be the perfect season to make your signature pink nail a little more glam.
Start off by coating your nails in your preferred shade of pink.
If you don’t usually wear these shades on your nails, try to find a lacquer that will compliments your skin tone first.
For example, people will fairer complexions will look stunning in dusty and lilac pink, while deeper skin tones might want to opt for warmer, peachier pinks.
Once you’ve picked your pink, it’s time to coat the nails. Do so until you’ve completely blocked out the natural color of your nails.
Now, for your mani’s piece de resistance – the rhinestones.
Try to get your hands on chunky, holographic ones, as they will look exquisite when placed against the blush shades.
Pick the nail you want to stand out. Proceed to bedazzle it with rhinestones.
You can do this in two ways:
- By adhering each piece of rhinestone with a toothpick and nail glue;
- By applying a thick layer of top coat and adding the rhinestones while the polish is still tacky.
Once the rhinestones are secured, add another layer of top coat to make sure everything stays in place.
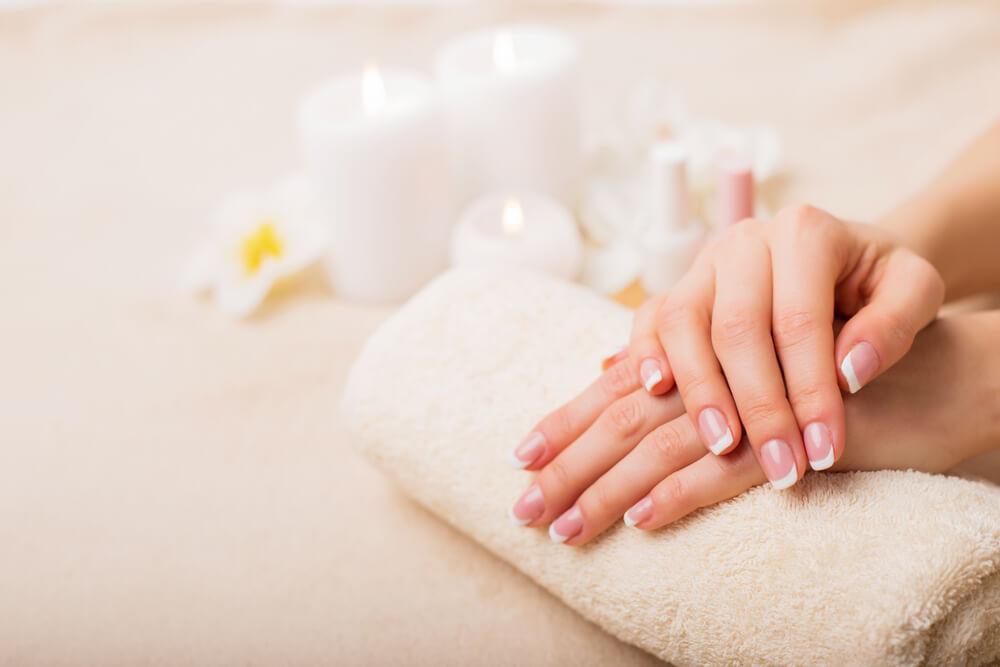
Crisp White

If your favorite thing about winter is the feeling of the pristine, virginal snow, then why not evoke the same feeling on your nails?
Not only are monochromatic nails currently en vogue, they are also the ideal accessory for sub-zero weather.
However, one thing you should keep in mind is that not all white polishes are created equal, so in order to really nail this look, you should pick one that is most in tune with your complexion.
People on the fairer side may want to veer towards cool-toned, pearly shades, while warmer skin tones will look best in beige and creamy hues.
To make sure your nail polish really stands out, pick one with a matte finish.
Once you’ve found your perfect match, file your nails to a flattering shape and apply a layer of base coat.
Next, coat your nails with white lacquer until fully opaque.
Add a layer of matte top coat and your simple, yet sophisticated winter mani is good to go.
Candy Cane Red

This sticky sweet mani is just perfect for lounging with your loved ones after opening your Christmas presents.
What’s more, it’s super-easy to achieve!
Simply coat your nails in your favorite shade of red. If you don’t usually wear it, you might be wondering which hue is the most flattering for your skin tone.
Here are a couple of pointers:
- Fairer skin tones look best in cherry reds, with hints of pink;
- Medium tones may want to opt for red that leans towards peachy and salmon shades;
- Olive complexions are best complemented with vibrant, orange-infused reds;
- Dark skin tones may find wine, purple-ish red best suited for their complexion.
After you’ve found your red match, it’s time to coat your nails. Make sure to apply several coats, so the nails are completely opaque.
Then, dip a fine nail brush in white lacquer and draw white stripes on every other nail.
Once dry, secure your design with a layer of top coat and your festive mani is complete!
Magenta Base and Gold Glitter

If you like to have a pop of color to your nail, this look is ideal for you, as it features that classic hot pink we love to wear in spring and summer, but with a festive, glittery twist.
Start off by applying the base coat to make sure your main polish won’t budge.
Follow it up with your favorite glittery gold lacquer. Make sure the glitter in nail polish is densely packed. This will help achieve a well-defined contrast against the pink.
Once the gold layer is dry, apply half moon-shaped stickers to your cuticles. Leave one or two nails as they are.
Start coating the sticker-marked nails with an opaque, magenta or fuchsia-colored lacquer. Keep adding new coats until you can no longer see the gold underneath.
Wait until completely dry, then carefully remove the stickers.
Set the color with a layer of top coat and your pink-and-gold mani is complete.
Metallic Silver
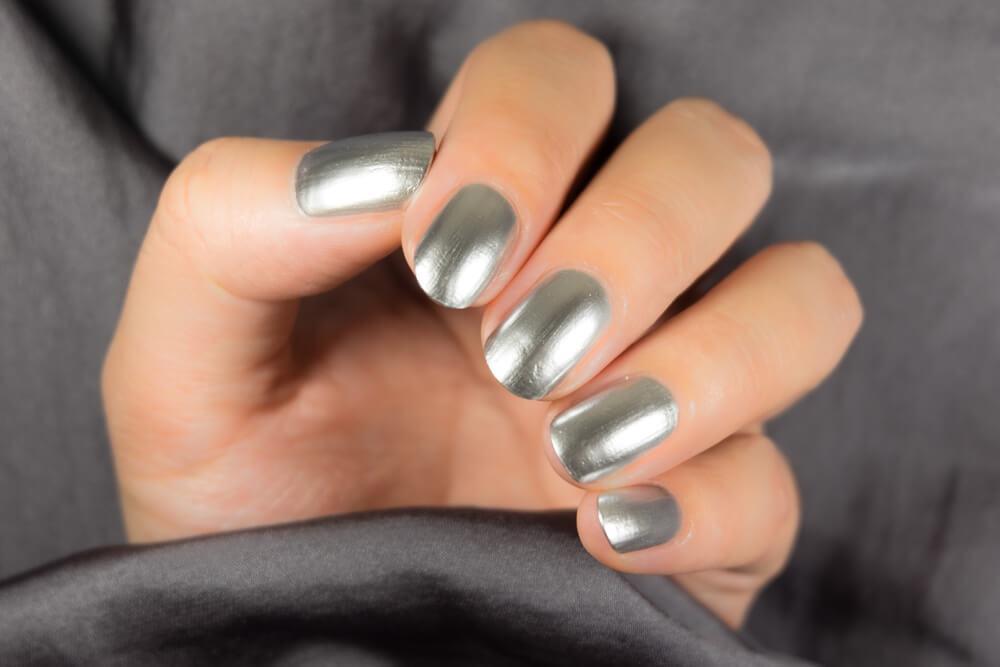
This striking, futuristic mani is ideal for those who would like to channel their inner ice queen this winter.
For this look to truly work, you need to pick a rich, silver metallic hue that will give your nails that futuristic edge.
Start by shaping your nails until you’re satisfied with the way they look.
Prime your nails with a layer of base coat, which will prevent chipping and make your polish more durable.
Coat your nails with several layers of silver polish, making sure the lacquer is evenly applied.
Finish off the look with an even layer of top coat.
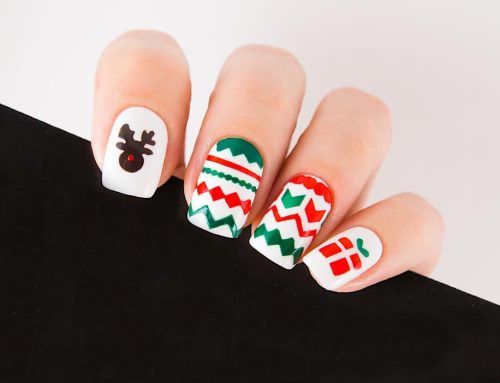
Red and Green
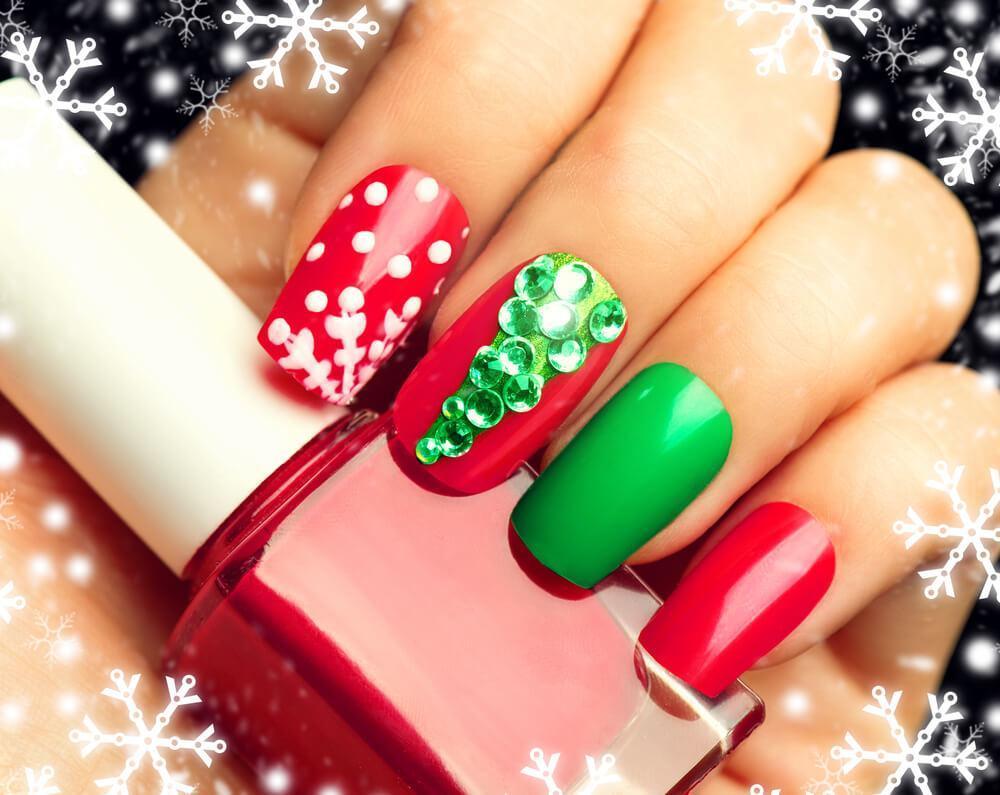
No color combination evokes the festive season better than red and green.
But instead of just painting your nails in plain two-color design, why not amp up your mani this holiday season by adding some miniature decorations, as well?
Here’s how to do it!
To give yourself more space to work with, try elongating your nail beds before you begin to decorate them.
You can do this in a few simple steps:
- Put a couple of drops of lavender oil in a bowl of warm water
- Soak your nails for five minutes
- Pat them dry with a clean towel
- Apply a bit of olive oil to your cuticles and start gently pushing them down with an orange stick
- Rinse your hands and pat them dry with a towel.
Once your nails are prepped, apply a thin layer of base coat.
Next, proceed onto red and green varnish, alternating between nails.
Use a thin nail brush dipped in green lacquer to draw a triangle on one of the red nails.
Once the green polish dries, add a couple of individual rhinestones using toothpick and nail glue. These will be the decorations for your “tree”.
To create snowflakes, dab a toothpick into white nail polish and add a couple of speckles onto red nails.
Add a layer of top coat for protection and your nails are Christmas-ready!
Matte Black and Metallic Gold
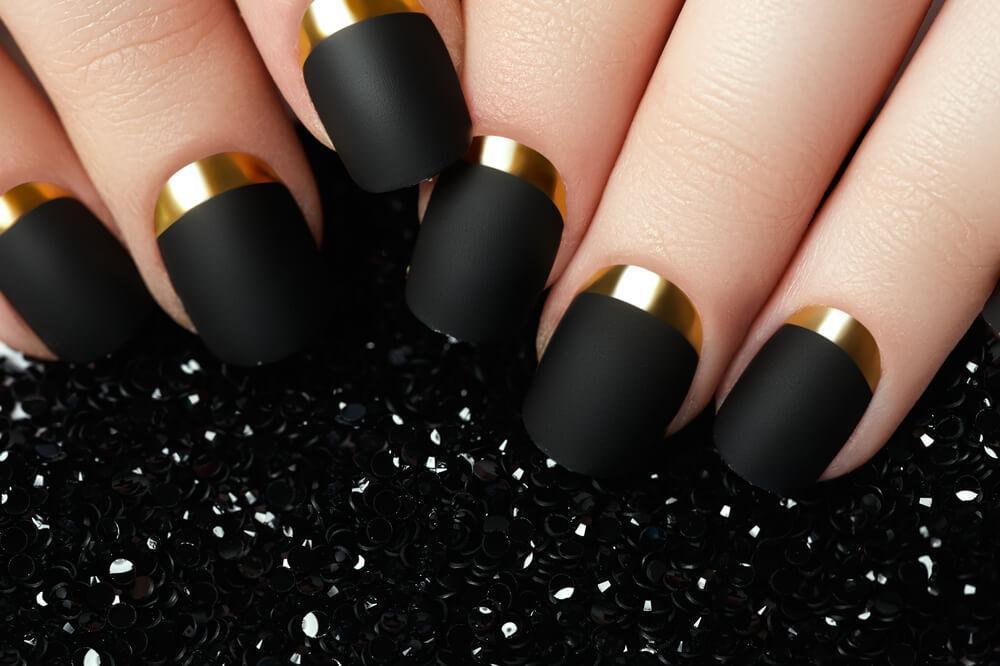
Black and gold is one of those infallible color combinations that will be perfect to wear on your nails as you wave goodbye to the year behind us.
And to add an extra edge to this classic contrast, try combining deep, matte black with metallic gold.
Start off by applying base coat. This will help even out your nails and make your design long-lasting.
Follow it up with two layers of gold lacquer. If the varnish is still sheer, add another layer. Wait until completely dry.
Apply half-moon stickers to the bottom of your nails, making sure they are tightly sealed.
Coat your nails with the matte black polish. Layer it to increase opacity.
When you are satisfied with your design, seal your hard work with matte top coat.
Fifty Shades of Grey
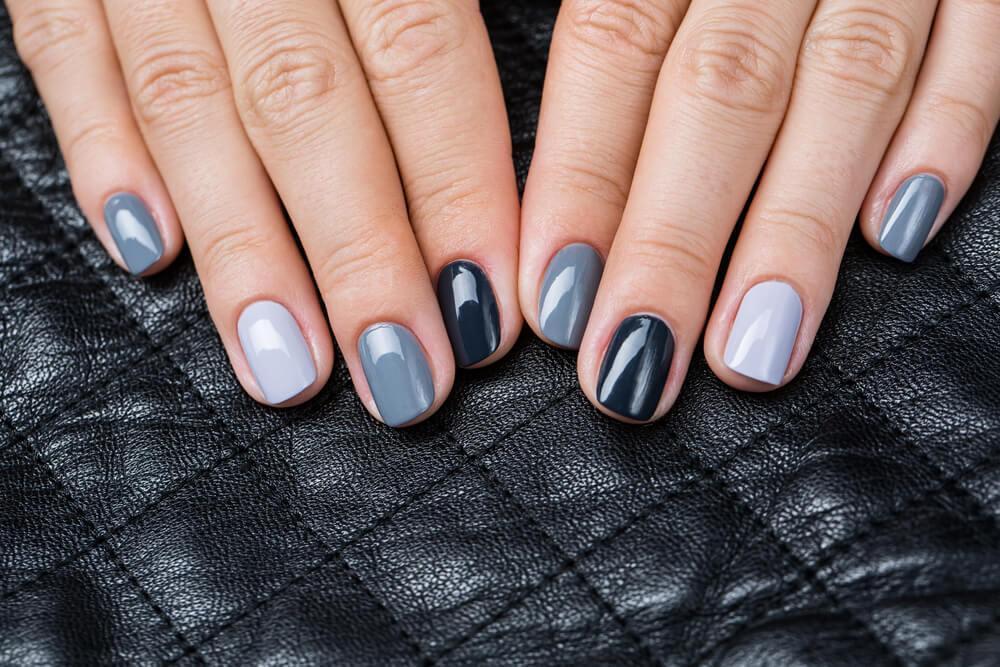
Perhaps you’re not a fan of color on your nails during frigid weather.
Or perhaps you would like to sport a nail design that will seamlessly accompany every outfit.
We have some good news for you! Monochromatic nails have been all the rage among manicure enthusiasts.
And what better way to rock this neutral, yet sophisticated style than by coating your nails with two, three or four different shades of grey.
Here’s an idea on how to achieve this look.
Begin by shaping your nails with a file, until they are even. Apply base coat to make sure your greys stay put.
Start applying lighter and darker grey polishes, alternating between each nail.
To complete the gradient, paint one nail on each hand in black.
Apply top coat and your understated, yet sleek nail design is finished!
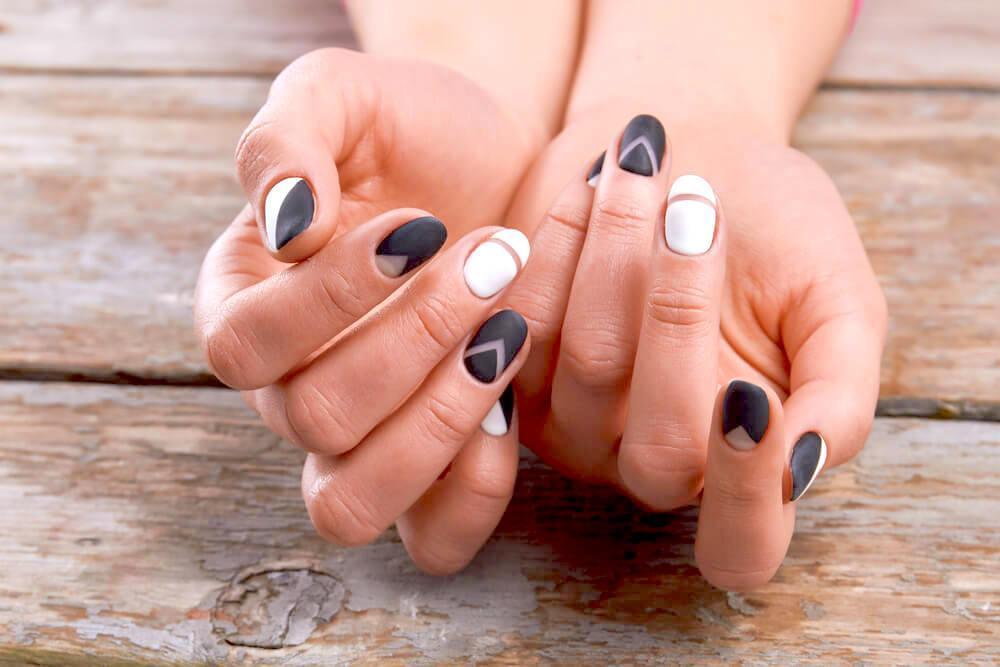
Graphic Black
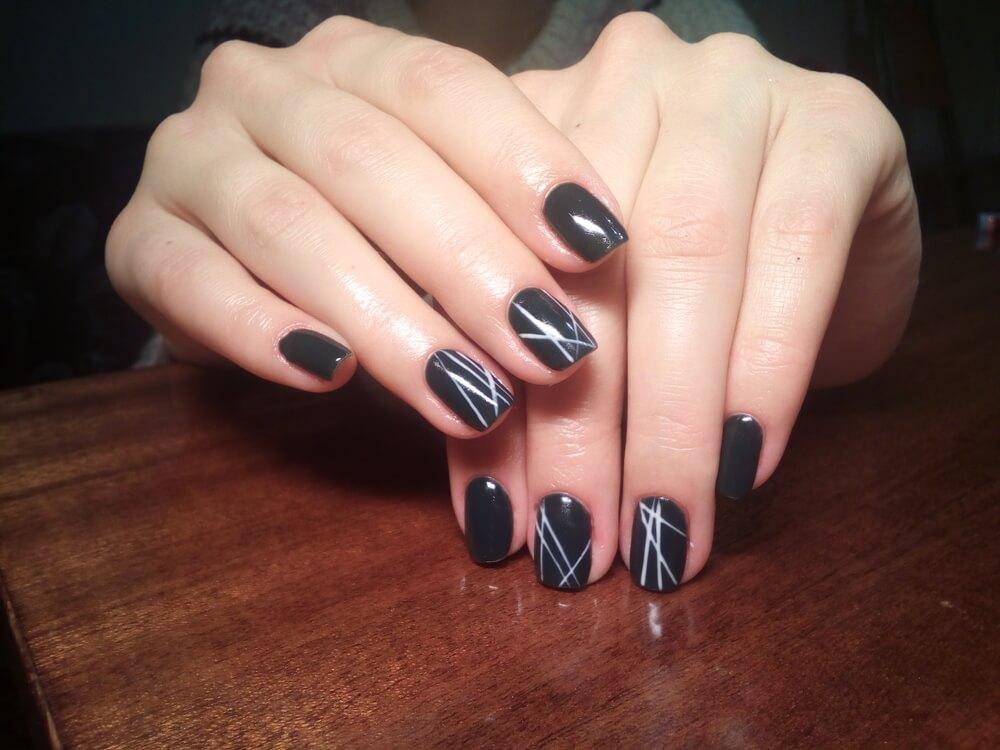
This simple, yet eye-catching design is perfect for minimalists who are still looking to make a statement with their nails.
Don’t be turned away by this mani’s intricate look – it’s very easy to achieve!
Begin by cleaning up your nails and filing them into a shape that suits you the best.
Coat your nails in rich, shiny black lacquer. Keep adding new layers until you block out the natural color of your nail beds.
Wait until completely dry. Then, take a very fine nail brush and dip it into a white or silver lacquer.
Draw diagonal lines using, quick, precise movements.
If this seems to daunting to you, you can also use nail tape.
You can apply this technique to decorate all nails, or just to accentuate a few.
One you’re happy with the way your nail art turned out, finish off by applying a layer of top coat to protect your design.
This look will also look great in black-and-gold, white-and-blue, as well as any other high-contrast combination.
Baby Blue and Silver Glitter
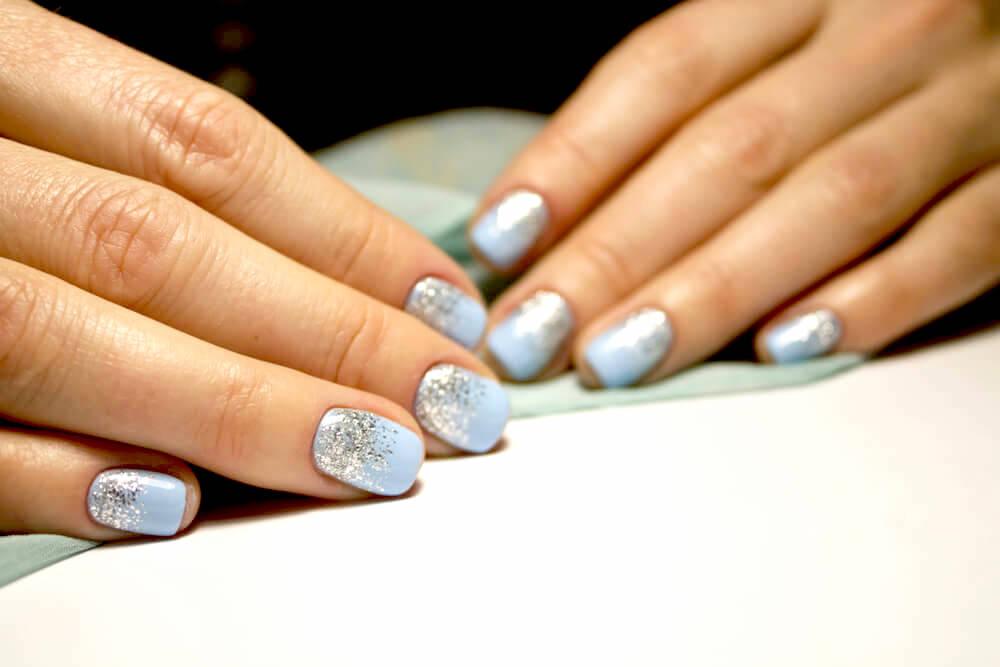
This gorgeous, cool-toned design will make your nails look like frosted window panes.
And here’s how to achieve it!
First, file your nails and clean up your cuticles. If you are lacking in nail “real estate”, you can slightly push the cuticles down to give your nail beds a more elongated look.
Once you’re pleased with the shape of your nails, proceed by applying base coat.
Then, coat your nails with the baby blue polish – this will be your base color. Feel free to add several layers, until reaching desired opacity.
Next, take your silver, glittery nail polish. Apply one layer from the bottom of your nail upwards, stopping at about three-quarters length.
Once the first layer or glitter is dry, repeat the step, this time applying the glittery polish halfway up.
Leave it to dry, then pack the last layer of glitter at the very bottom of the nail. This technique will create an ombré effect.
Lock in your frosty design with top coat.
And with this, we wrap up our list of the hottest (or coolest!) winter nail trends. Armed with all these awesome looks, we have no doubt that your chic, fresh mani will help you combat the cold weather in style.


Leave A Comment